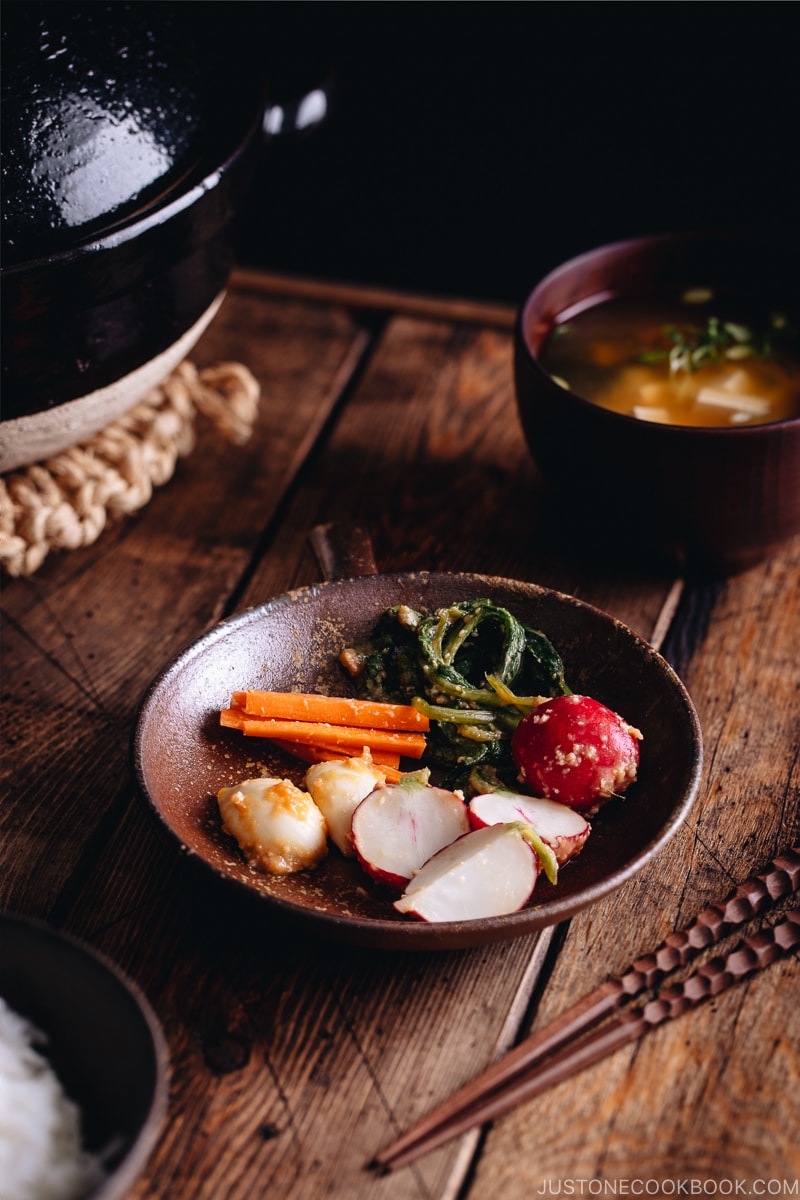
Do you know you can pickle fresh seasonal vegetables and fish with miso? Known as Misozuke, these Japanese miso pickles are one of the easiest Tsukemono you can make at home. The result is unmistakably umami, and so good with plain steamed rice!
Misozuke (味噌漬け), literally Japanese soybean paste (miso) pickling (zuke), is one of the easiest Japanese pickles known collectively as tsukemono (漬物). Miso pickles can easily be made at home with miso paste and it preserves the ingredients for a long time.
This topic is part of the tsukemono series that I’m introducing on Just One Cookbook. For a detailed introduction, please read Tsukemono: A Guide to Japanese Pickles.
Tsukemono has several types based on the pickling agent:
- Shiozuke (塩漬け) – salt
- Suzuke (酢漬け) – vinegar
- Amazuzuke (甘酢漬け) – sugar and vinegar
- Misozuke (味噌漬け) – miso
- Shoyuzuke (醤油漬け) – soy sauce
- Kasuzuke (粕漬け) – sake kasu (lees)
- Shiokojizuke (塩麹) – rice koji/mold-cultured rice
- Nukazuke (糠漬け) – nuka (rice bran)
- Karashizuke (からし漬け) – Japanese hot mustard karashi
- Satozuke (砂糖漬け) – sugar
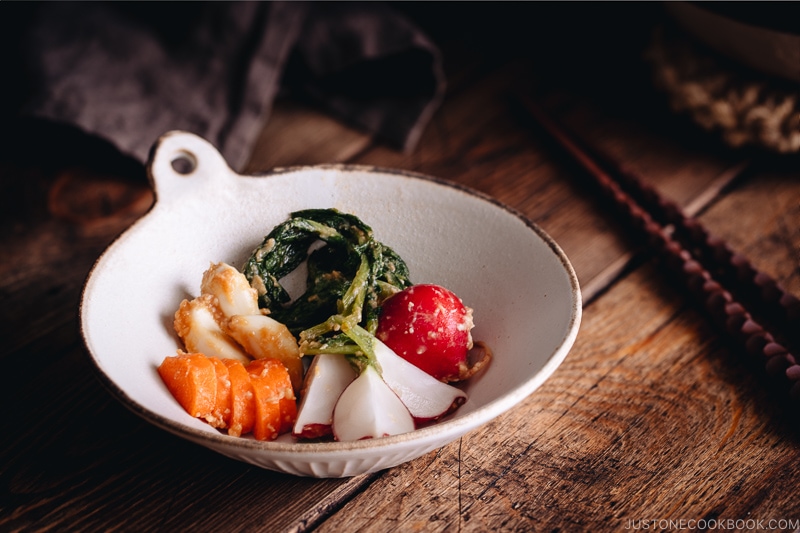
I will be covering each one of them at a different time, but today we’ll focus on Misozuke. In this recipe, we will pickle two types of vegetables: radishes and carrots.
What is Misozuke?
Misozuke (味噌漬け) is to pickle ingredients in miso or miso-based mixture, or it also refers the miso-pickled food. The common ingredients for misozuke include:
- Vegetables (cucumber, carrot, burdock root, daikon, eggplant, celery, etc)
- Meat
- Fish or seafood
- Tofu
- Cheese
- Egg yolk
After pickling, the vegetables are eaten as they are (raw) while meat and fish are baked/cooked.
How to Pickle in Miso
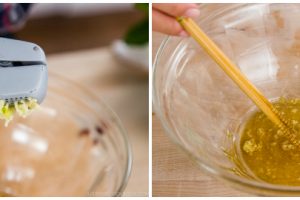
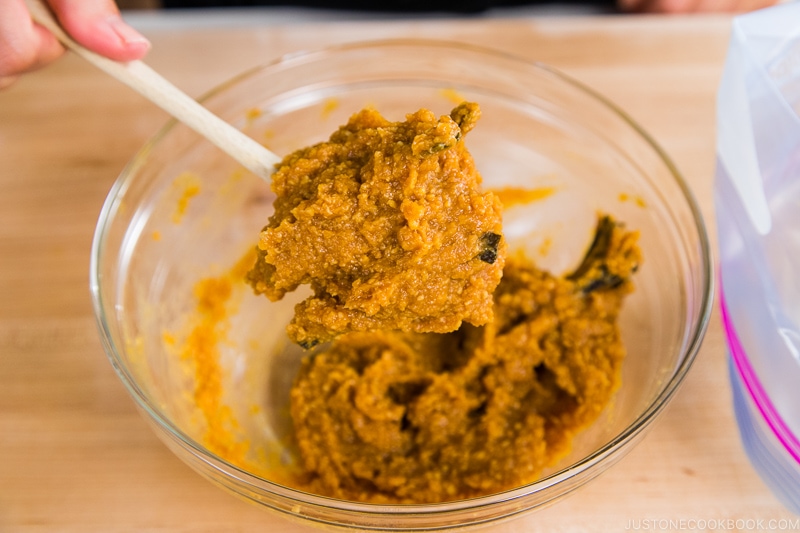
The pickling “marinade” is called Misodoko (味噌床) and the mixture is made of miso, sake, mirin, and sugar. It’s very easy to make Misodoko: all you need is to mix all the ingredients together. You can also include the following flavor-boosters if you like:
- Kombu
- Red chili pepper
- Garlic
- Ginger (grated)
After you put your ingredients in the misodoko, refrigerate. If you don’t plan to eat misozuke with meat or fish in the same week, you can also freeze it, but recommended to cook it soon.
For any ingredients with lots of moisture, excess moisture should be extracted prior to pickling to prevent mold growth.
- For fish, it is best to sprinkle salt and draw out excess moisture.
- Vegetables such as daikon radish, carrot, burdock, cucumber, and ginger, should be sun-dried, dried under shade, or salted.
Best Pickle Time for Misozuke
In general, the recommended pickling time varies from 2-3 hours to half day to 2-3 days. Why such a big range? The “perfect” timing for each misozuke varies depending on 1) salt content in the miso you’re using, 2) the type of ingredient you pickle, and 3) how you eat it.
- Salt Content: White miso has less salt, so you may need to pickle for a longer time than red miso, which has a higher % of salt.
- Ingredient: Thin and softer vegetables can pickle really fast as opposed to thick and tough vegetables. If you cut the vegetable into smaller pieces, pickling is faster.
- Eat With Rice: Japanese often prefers to eat something salty when eating plain steamed rice. It’s entirely up to you how ‘salty’ you want your misozuke to be.
Considering the above factors, I recommend tasting your misozuke to decide on the pickling time.
Helpful Tips for Making Misodoko
1. Separate the misodoko
Make sure to separate the pickling mixture/ marinade for vegetables (eat them raw) and meat/fish (need to cook). Or you can use new/newer misodoko for vegetables, and when it’s about to expire, use it for marinating meat and fish.
2. Use a glass container or resealable plastic bag
A glass container works great if you plan to use the misodoko for a long time. It is easy to put in or take out the ingredients and to transfer the misodoko out of the container if you need to cook off the moisture (see next). It also keeps the shape of fragile ingredient (such as a thin fillet of fish) intact.
A resealable plastic bag is good for a small amount of misozuke. Use just enough amount of misodoko to coat your ingredient and rub it against each other from outside the bag.
3. You can re-use misodoko for up to 1 month
The great thing about misodoko is that you can re-use it for up to a month! When the misodoko becomes watery from moisture released from the ingredients, all you need to do is to reheat in the pot over the stove and let the moisture evaporate. Let the misodoko cool before you use it to make Misozuke again.
4. Don’t throw away misodoko
When you’re done with misodoko, you can use the marinade for seasoning your stir fry dishes or as a sauce for your dish. You just need to make sure to cook the sauce.
5. Remove excess misodoko (important!)
When you finish pickling meat/fish, make sure to remove any excess misodoko from the meat/fish before cooking. Miso will burn easily and you do not want your dish to be charred.
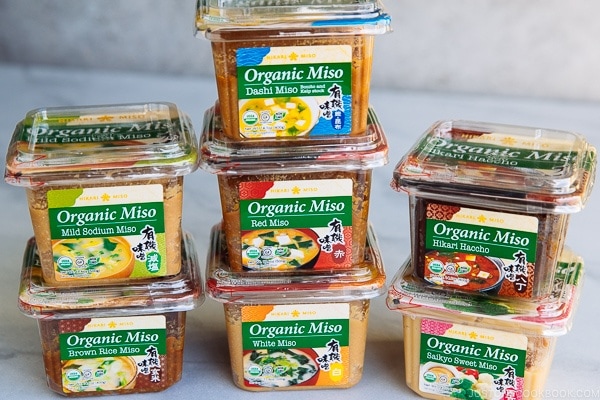
What Type of Miso to Use
Although it might be common to use the bold-flavored of red miso for misozuke, any type of miso can be used. Even red miso varies in flavors and some regions use white miso for misozuke. If you are new to misozuke, use the miso you have in your fridge to start. It’s the perfect way to use up the leftover miso in the tub, too. You can read all about miso to be familiar with different types of miso.
For this recipe, I used my favorite miso, Kodawattemasu by Hikari Miso®, that I’ve been using for over a decade in my kitchen. Thank you Hikari Miso® for sponsoring this post!
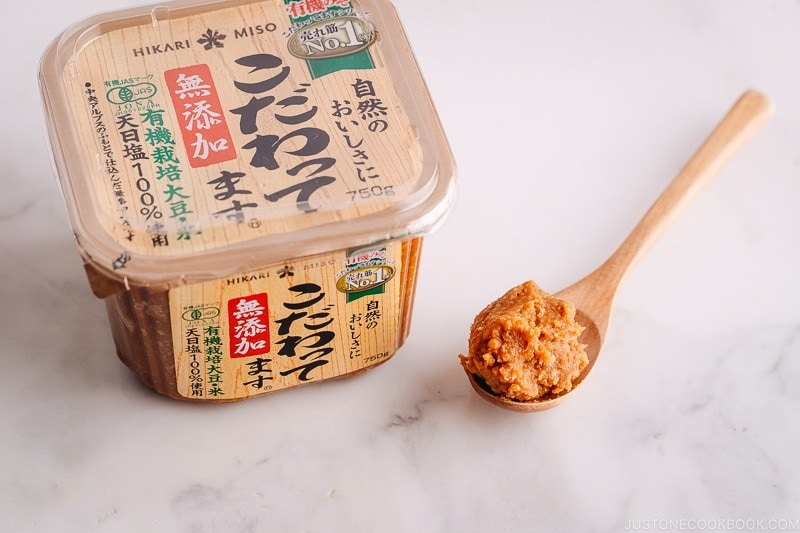
This slow-aged red koji miso is actually the #1 selling miso from Hikari Miso®. It is free of additives and preservatives, is made of organic soybeans and rice, and has a rich and mature flavor with the full-bodied umami of soybeans and the sweetness of the rice.
Where you can buy Kodawattemasu by Hikari Miso®:
- Japanese grocery stores (Nijiya, Mitsuwa, Marukai, local mom-pop shops, etc)
- Asian grocery stores (including Chinese/Korean grocery stores)
- Tokyo Central Online ($7.48)
On a side note, “Kodawattemasu” (こだわってます) in Japanese means “I’m particular (about the quality of miso and the miso-making process).” It may be hard to memorize, so just remember the green label with No.1 on the package!
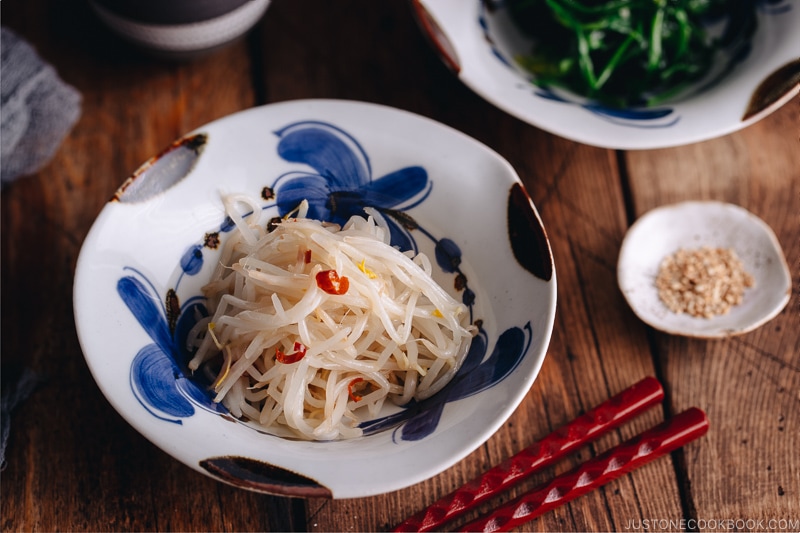
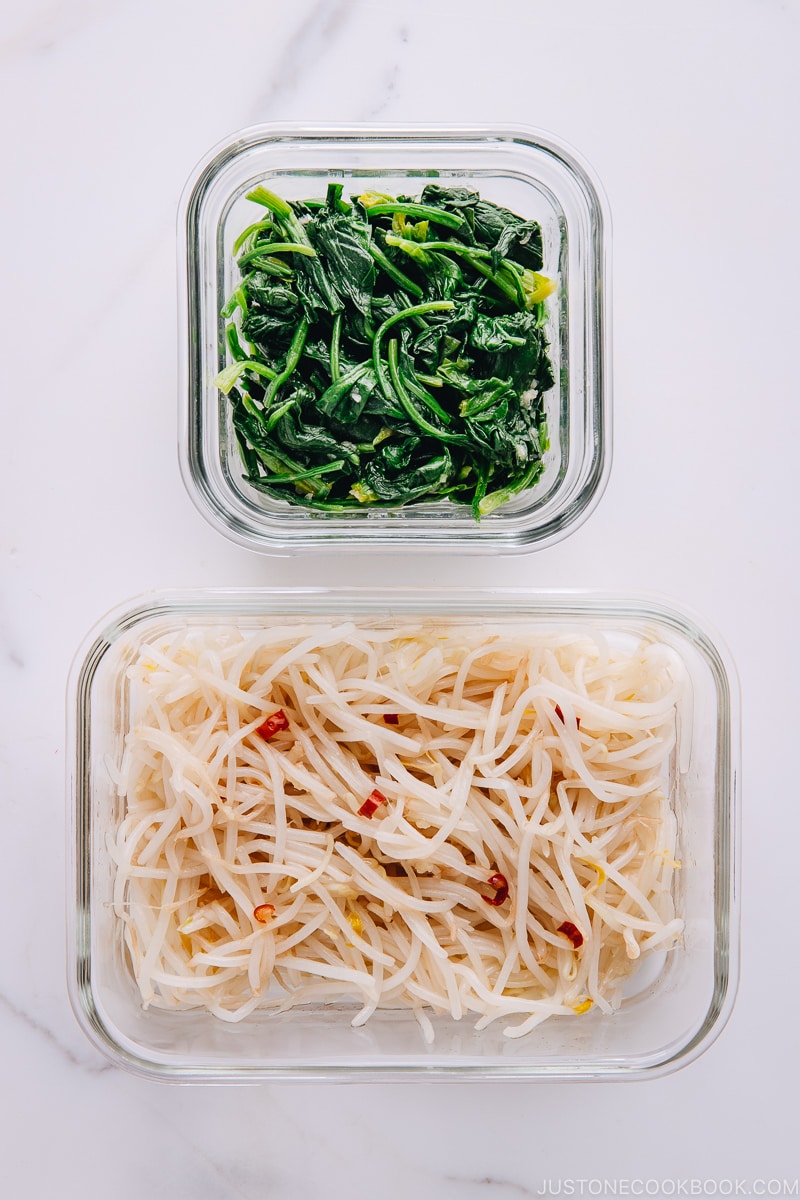
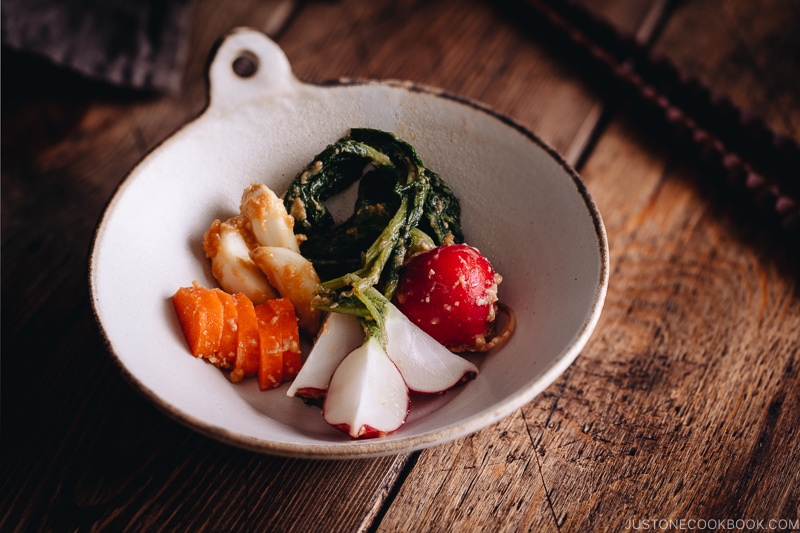
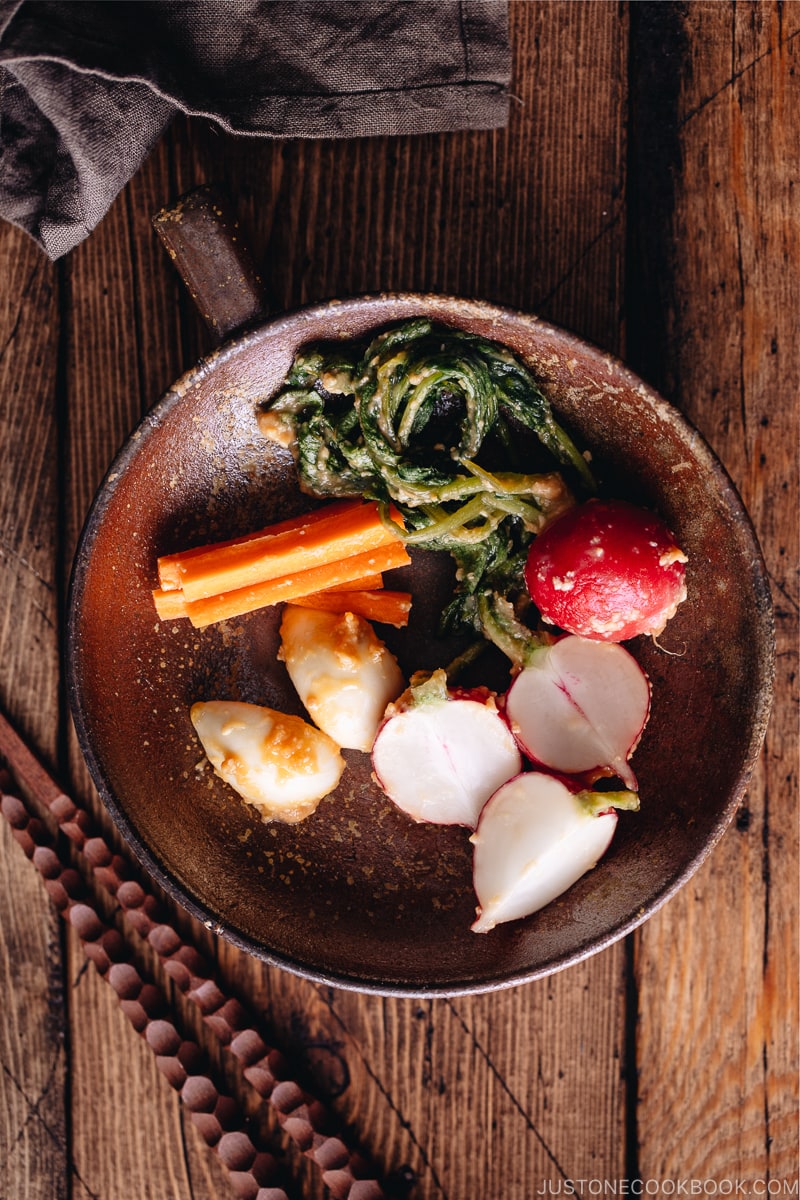
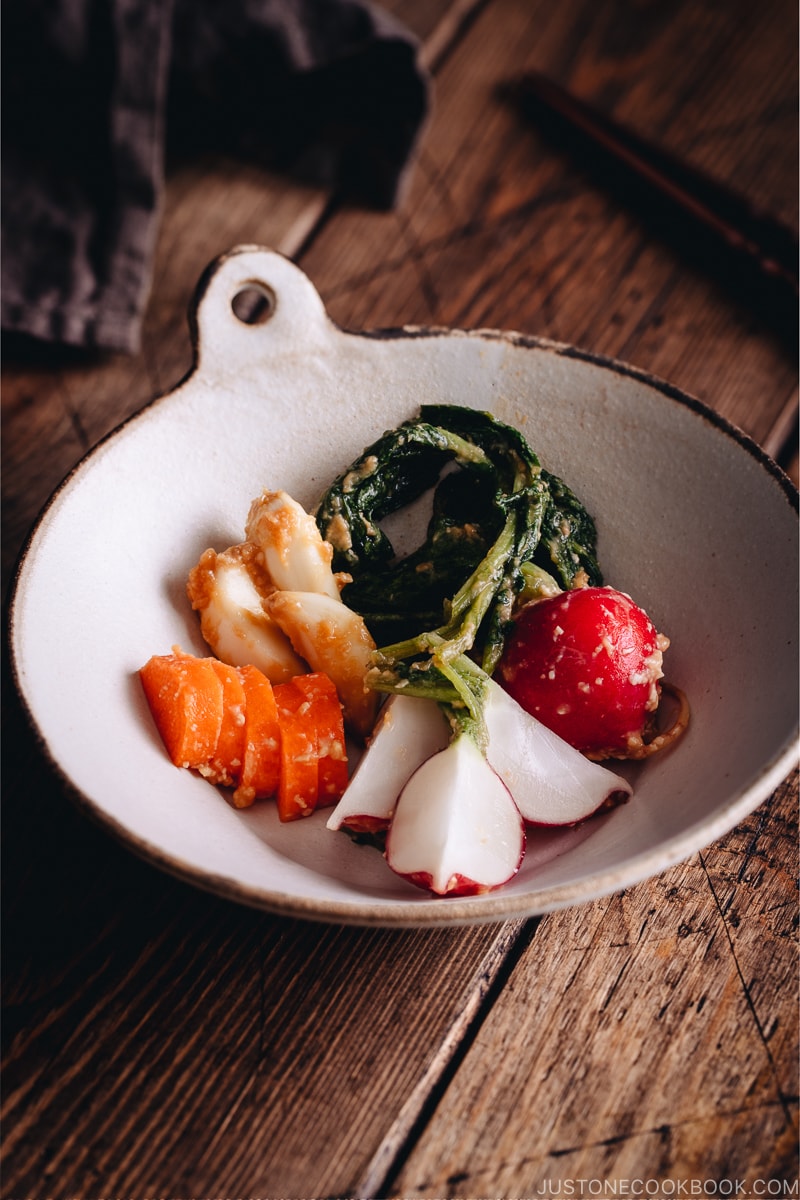
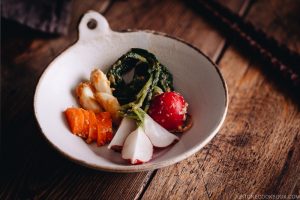
How to Enjoy These Miso Pickled Vegetables
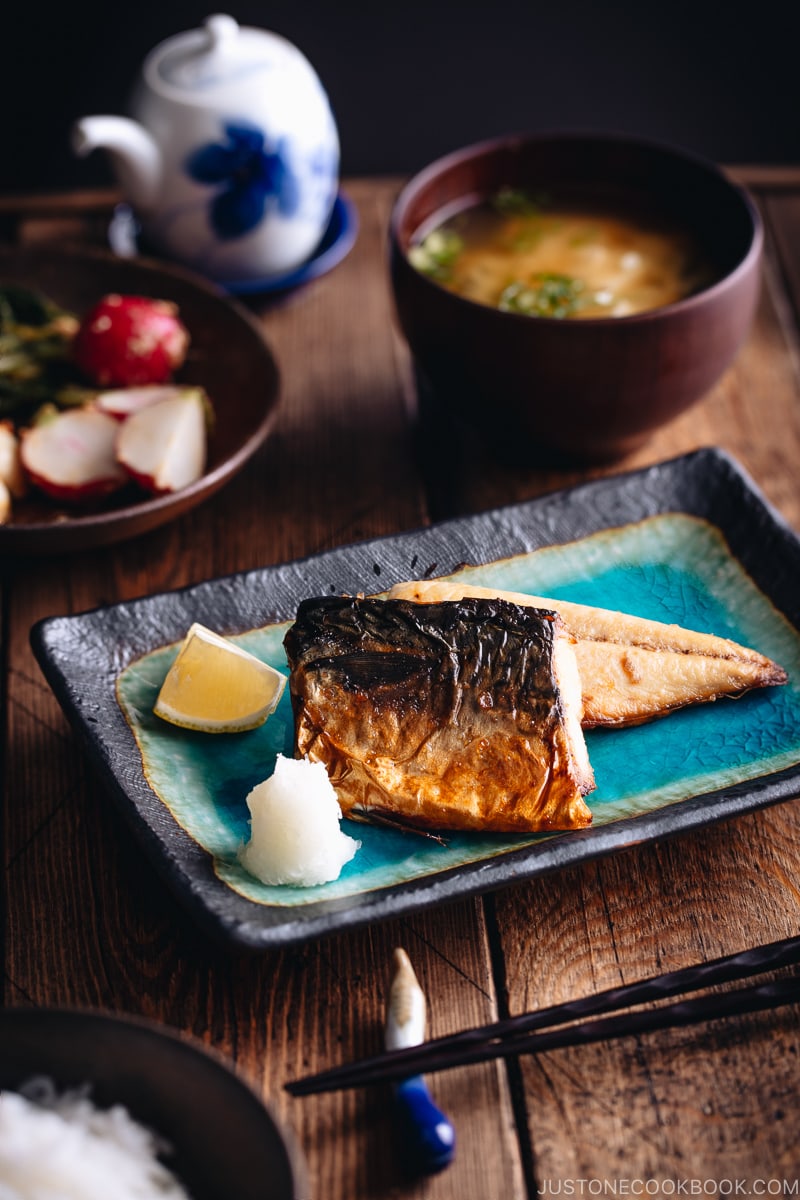
The beauty of misozuke is you could simply enjoy the pickled foods with steamed rice. The miso pickled radishes and carrots are perfect for anyone who follows a vegetarian or vegan diet. You’ll love it with this Vegan Miso Soup. Otherwise, you can serve it alongside with another protein dish such as Saba Shioyaki (Grilled Mackerel) or Seared Scallops.
Japanese Ingredient Substitution: If you want to look for substitutes for Japanese condiments and ingredients, click here.
Sign up for the free Just One Cookbook newsletter delivered to your inbox! And stay in touch with me on Facebook, Pinterest, YouTube, and Instagram for all the latest updates.
Tsukemono – Misozuke (Miso Pickling)
Do you know you can pickle fresh seasonal vegetables and fish with miso? Known as Misozuke, these Japanese miso pickles are one of the easiest Tsukemono you can make at home. The result is unmistakably umami, and so good with plain steamed rice!
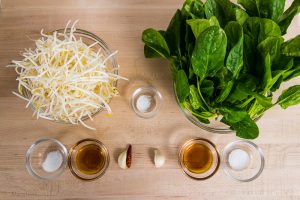
Misodoko
- 1 cup miso ((300 g))
- 2 Tbsp mirin ((30 ml))
- sugar ((optional))
Optional Add-ins
- 10 cm kombu
- garlic
- red chili peppers
- grated ginger
Ingredients to Pickle (Read blog post)
- 2 carrots ((5-6 cm))
- 5 radishes ((250 g))
- Gather all the ingredients.

Make Misodoko
-
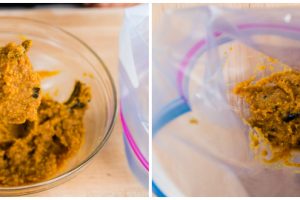
We make 2 bags. For radish misozuke, we make a plain misodoko. In a medium bowl, combine ingredients for misodoko and mix well.

-
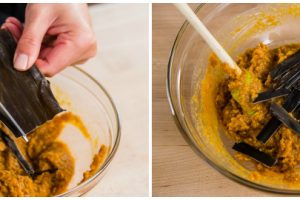
For carrot misozuke, I add kombu and garlic cloves for additional flavors. Cut the kombu into thin strips and mix all together. Other optional add-ins include red chili and grated ginger, etc.
-
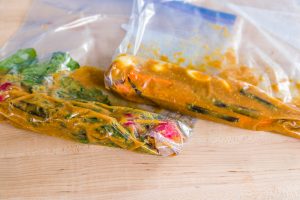
Transfer each misodoko into a resealable bag or glass container with a lid.
Prepare Vegetables
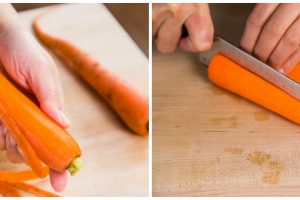
- Rinse the radish under water nicely. Peel the carrot and cut it in halves lengthwise.
Pickle the vegetables in the Misodoko
-
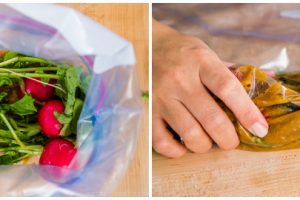
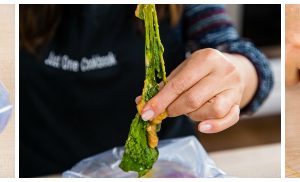
For the radish misozuke, add the radish in the plain misodoko, remove the air, and seal the bag. Rub with the miso from outside the bag.
-
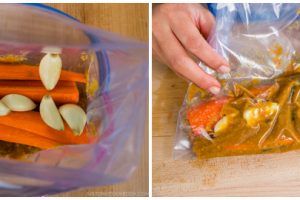
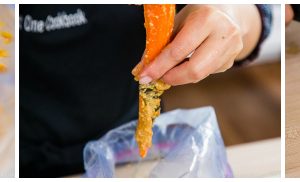
For the carrot misozuke, add the carrot and several cloves of garlic (peeled) to the bag with kombu strips in it. Rub the vegetables with miso from outside the bag.
-
Store in the refrigerator. Depending on the ingredients, misozuke is ready from 2-3 hours to 2-3 days.
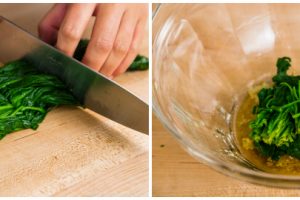
- Remove the radish from misodoko, wiping off any excess miso. Cut it in half and serve.
- Remove the carrot from misodoko, wiping off any excess miso. Cut it into smaller pieces and serve.
Reuse of Misodoko
-
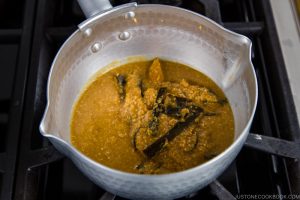
When you find your misodoko has some liquid in it, transfer it to a saucepan. Cook it on a low heat and let the liquid evaporate. You can re-use misodoko for up to a month. Please read the blog post for more details.
Japanese Ingredient Substitution: If you want to look for substitutes for Japanese condiments and ingredients, click here.
Recipe by Namiko Chen of Just One Cookbook. All images and content on this site are copyright protected. Please do not use my images without my permission. If you’d like to share this recipe on your site, please re-write the recipe in your own words and link to this post as the original source. Thank you.