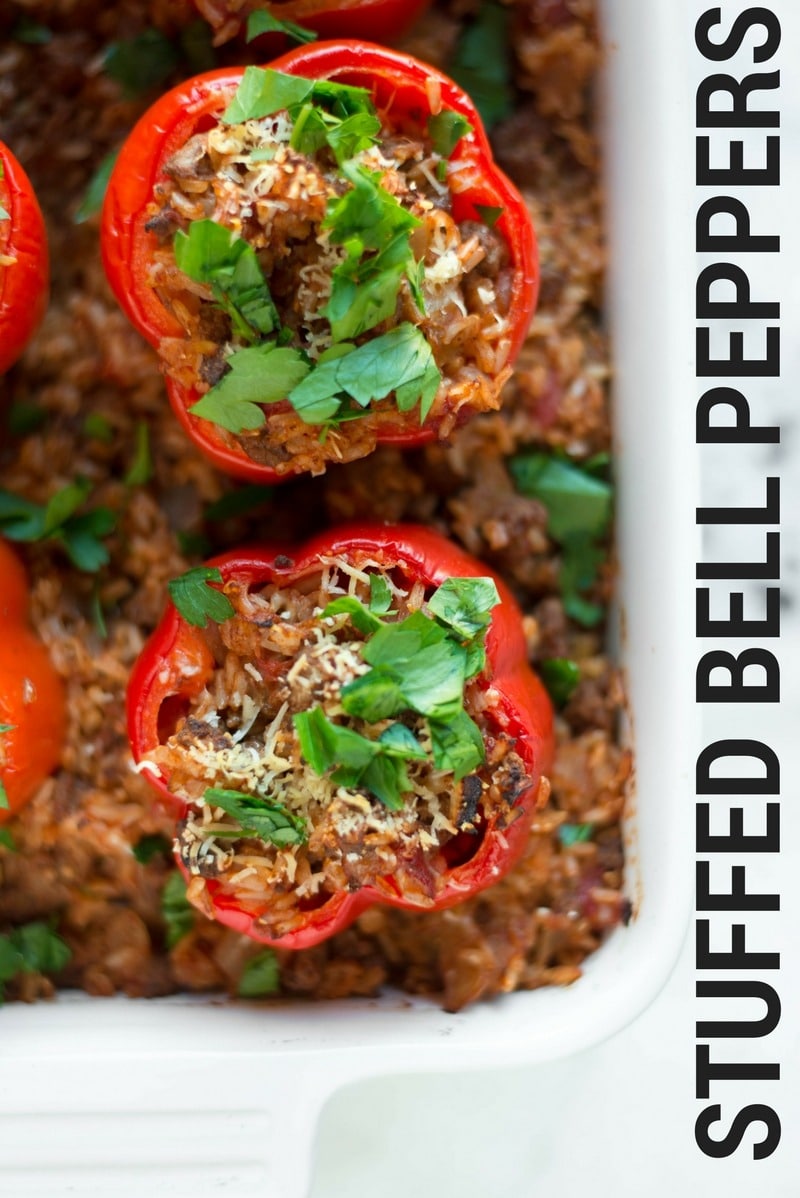
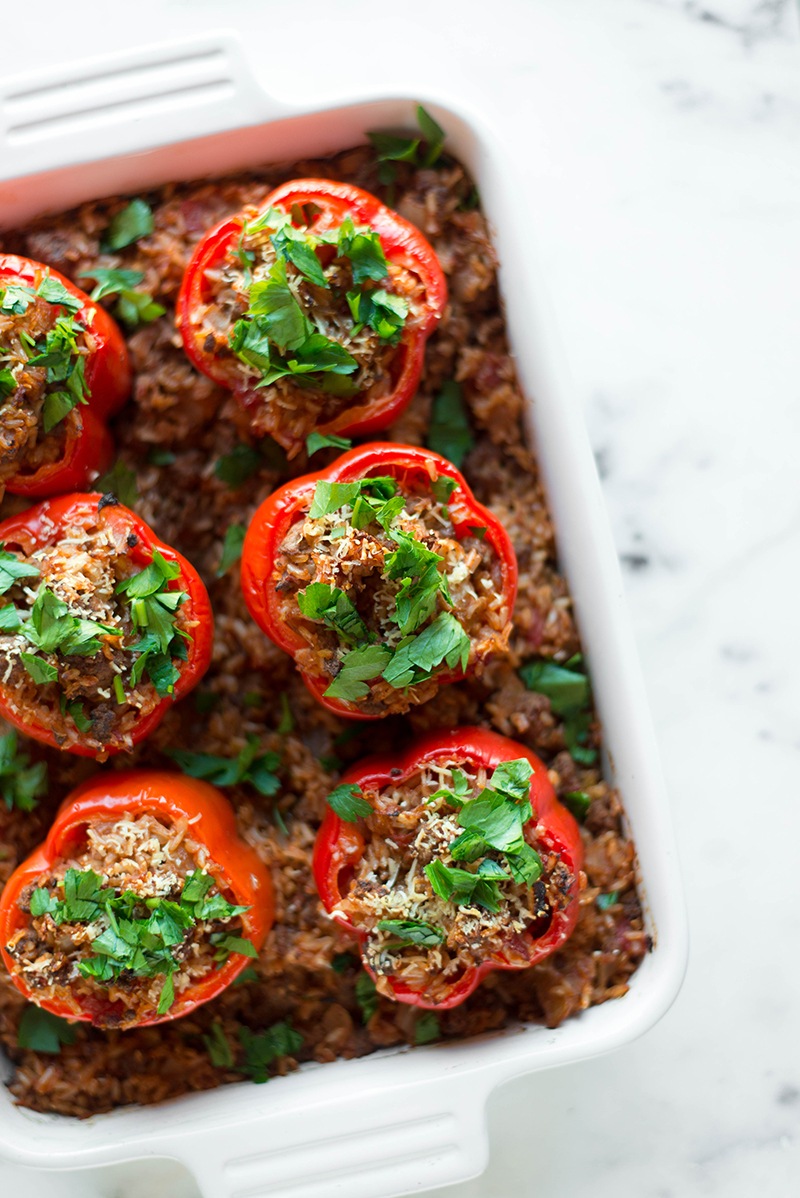
These easy Classic Stuffed Peppers are a hearty but healthy comfort food from my childhood that is family approved and can be made ahead for an easy weeknight meal. Perfect for left-overs, too!
There are always those recipes that stay with you from childhood, no matter how long it’s been. Comfort food is interesting that way. I’ll always remember enjoying my mom’s stuffed peppers, nachos, and corned beef and cabbage as long as I live. These memories are so heart-warming and familiar, it’s hard to believe we can go so long without them, yet the memory is so strong.
Since I live states away from my mom and my need for comfort food is real, I wanted to create my own version of the stuffed peppers recipe she used to make. While hers was pretty healthy, I made a few changes to add in some additional fiber and remove some of processed foods.
How To Cut A Bell Pepper For Stuffed Peppers
In case you’re wondering how the heck you cut a bell pepper for stuffed peppers, it’s not as scary or confusing as it may look. PS it’s not magic, either, but it’s pretty amazing once they’re all baked and ready to dig into.
- on a cutting board, lay the bell pepper on its side;
- slice off the top with a knife — try to slice off as little of the top as needed in order to remove the stem;
- twist the stem and then remove and discard the core;
- hold the bell pepper upside down over a trash can or the sink and gently pat the bottom of the bell pepper to knock any remaining seeds out;
If seeds remain in the bell pepper once you’ve tried knocking them out, you can always rinse it out with water.
ALSO if your bell pepper just wont stand up, you have a couple options….(1) you can gently slice an ever-so-small slice on the bottom to make the rounded edges of the bottom flat so it stays upright or (2) just hold it upright with the additional rice and beef filling that you add to the casserole dish.
If all else fails, you can always slice the entire bell pepper in half through the stem and just stuff half of it, but they’ll take up more space in your casserole dish this way.
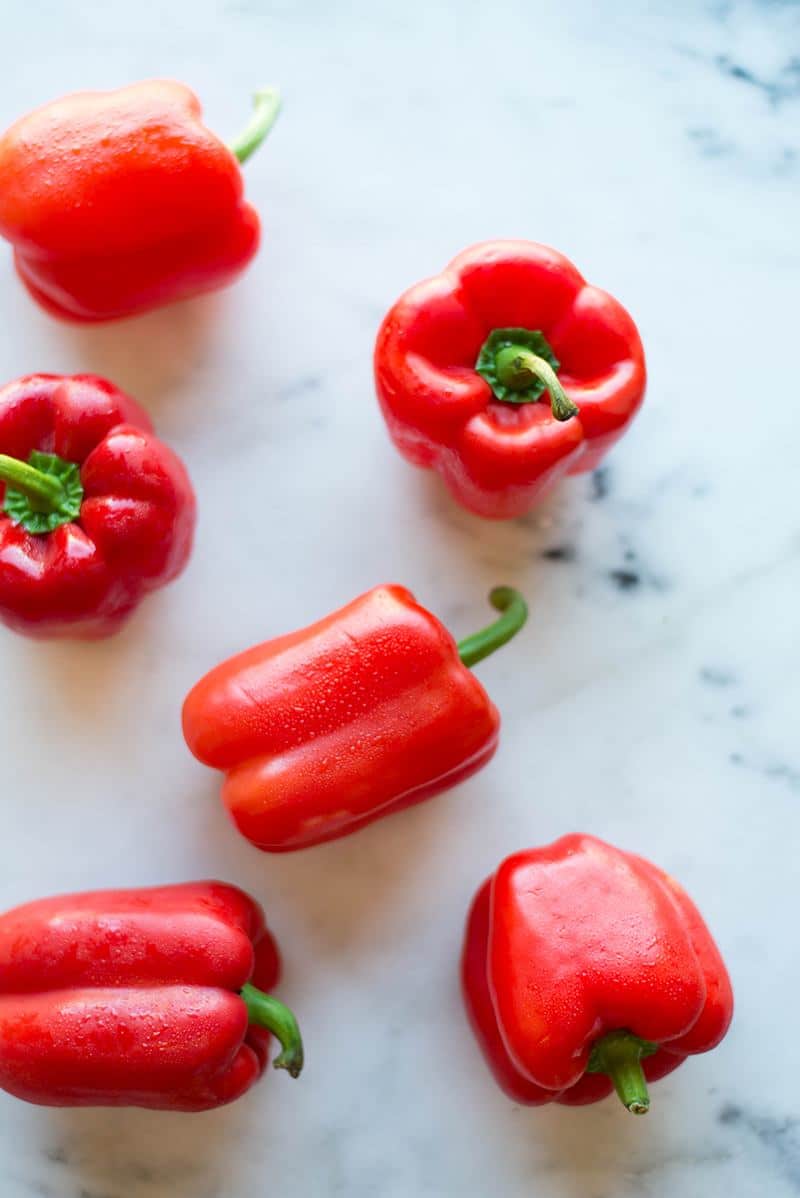
What Bell Peppers Are Best For Stuffed Peppers?
If you’re wondering what’s the best bell pepper to choose for you stuffed pepper recipe, the easy answer is ANY! Bell peppers all start out green, then ripen to yellow, orange, and then red, which is the most mature. If you like your bell peppers slightly sweet, opt for an orange or red bell pepper, as opposed to a green bell pepper, which will be less sweet.
My personal fave is red bell pepper, followed by green, but the recipe works perfectly with the entire spectrum of colors.
Here are some tips for how to pick out the best bell peppers for stuffed peppers:
- Look for evenly sized bell peppers so they all bake evenly
- One medium-large stuffed bell pepper will be a full serving for one adult, so plan accordingly
- Avoid bell peppers that are wrinkled or have soft spots and opt for firm, crisp bell peppers that feel heavy for their size
- Choose round, stocky-looking bell peppers so look like they’ll hold a good amount of stuffing
How To Make Healthy Stuffed Peppers
Did you know they are a great source of vitamin C, B (including B6 and folate), A, and are full of antioxidants? Awesome, right? One of the things I love about these healthy stuffed peppers is how healthy they are. I love it when healthy and comfort meet up so nicely!
So…what’s the difference between my mom’s stuffed peppers and these healthy stuffed peppers?
First off, my mom would use white rice, but I’m always partial to brown rice as a super easy and high-fiber, unrefined alternative. You could choose another grain or quinoa as well, but the rice does provide a real creamy, yummy texture for the stuffed peppers.
I also choose lean, grass-fed ground beef or ground turkey to make sure the saturated fat amounts remain in check. Plus the topping my mom used to use contained parmesan (remember those parmesan gratings from the canister?), but I use freshly grated parmesan nowadays.
Finally, I use low sodium chicken broth for making the rice in order to control the sodium amount. This is such an easy way to reduce your daily sodium intake and you’ll never taste the difference!
It’s crazy how it is to make stuffed peppers, even just from memory. The whole stuffed peppers recipe is quite forgiving so you can add an extra ingredient here or leave out another there and it’ll still be delicious. You could also use the filling to stuff tomatoes, zucchini, spaghetti squash, or whatever you happen to have on hand, though I’m def partial to the bell peppers. On that note, I like red or green bell peppers the best for this recipe, but any will do.
Can You Freeze Stuffed Peppers?
These Stuffed Peppers can be stored for up to a week in the fridge and will reheat perfectly. If you’re interested in meal prepping for the week, these stuffed peppers are a GREAT option. In fact, I happened to use these babies in my $75 Whole Foods 5 Day Meal Plan in case you’d like to check it out.
If you are reheating a make-ahead stuffed pepper, a quick tip is to slice the whole pepper in half before heating as this will make it a lot faster to reheat. I store theme in these meal prep containers.

If you’re wondering if you can freeze stuffed peppers, the answer is YES. Freezing these babies is an awesome way to make sure you have quick meals on busy weeknights. They’ll last up to 3 months in the freezer, too. Here are some tips for how to freeze stuffed peppers:
How To Freeze Stuffed Peppers
- Cook the bell peppers according to the recipe. You want everything to be completely cooked through before freezing to make it easier and quicker to reheat later. Once cooked, allow the stuffed peppers to completely cool before freezing.
- The best way, I’ve found, to freeze stuffed peppers is to freeze them in a large casserole dish that is freezer-safe. This will make it much easier to grab and go when it’s time to reheat.
- Cover the casserole dish with aluminum foil and then wrap the entire dish in plastic wrap to completely seal. Any open areas will lead to freezer burn which we don’t want.
- When you’re ready to enjoy these easy stuffed peppers for a tasty dinner, just remove all the wrapping and bake, frozen, at 350 degrees F until they are thawed and heated through, about 45 minutes to one hour. If you’d prefer, you can also thaw them in the refrigerator before cooking and they will heat through faster.
Nowadays, I get to enjoy this comforting meal with three kiddos and think back on my own happy childhood memories at the same time.
What is it about comfort food from our childhood? Is it just a food we enjoyed that our mom or dad or grandma made for us? Is it just that is was familiar and so it became comforting? Or was there something so special about that moment in time where we were cared for and the food just created that memory?
I wonder what my kiddos will remember when they’re older – will it be something I hardly ever made? A routine weeknight dinner? Or – yikes – will they even remember me as a good cook? lol
I guess first thing’s first – all I can control is to provide a loving home for my family and share the best food and meals I can. Hopefully, this will instill a love and appreciation for food, cooking, and family in them as they grow up. It seems to be working so far…
Man! Stuffed Peppers and some deep thoughts today, eh? That’s what comfort food will do to ya, I guess. 🙂
What to Serve with Stuffed Peppers
These healthy stuffed peppers are pretty filling by themselves, especially if you help yourself to some of the extra filling I like to stuff around them in the casserole dish (yum!), but you do have some great options for what to serve with them. My favorite side is a simple salad — nothing too crazy, but this does allow you to add a little greens into the meal and provides a nice crunch to go along with the deliciousness of the classic stuffed peppers. For your salad, make sure to grab one of my homemade dressings and avoid high sugar, high-processed-fat dressings from the store.
How To Reheat Stuffed Peppers
These stuffed peppers can be stored for up to a week in the fridge and will reheat perfectly. If you’re interested in meal prepping for the week (which you totally should!!), these stuffed peppers are a GREAT option. In fact, I happened to use these babies in my $75 Whole Foods 5 Day Meal Plan in case you’d like to check it out.
If you are reheating a make-ahead stuffed pepper, a quick tip is to slice the whole pepper in half before heating as this will make it a lot faster to reheat. I store them in these meal prep containers.
If you’re reheating from frozen, just remove all the wrapping and bake, frozen, at 350 degrees F until they are thawed and heated through, about 45 minutes to one hour. If you’d prefer, you can also thaw them in the refrigerator before cooking and they will heat through faster.
MORE HEALTHY BELL PEPPERS RECIPES
I sure hope you enjoy these bell peppers – they’re simply delicious and a great weeknight dinner that can be used for lunches throughout the week as left-overs. Just one pepper is all you need for a meal, which makes it go far and cuts down on cost, too. So yay. Maybe this could turn out to be one of those lovely memories for you and your family as well 🙂
What are your cherished comfort foods from your childhood?
After you make the best stuffed peppers AKA these healthy stuffed peppers, I really recommend trying more recipes with bell peppers. Because all those amazing health benefits cannot be ignored.
HOW TO MAKE HOMEMADE CHILI (EASY WEEKNIGHT DINNER IDEA!)
Learn How To Make Homemade Chili (Easy Weeknight Dinner Idea!) and you have another awesome dinner option that’s very easy and quick. And it involves bell peppers!
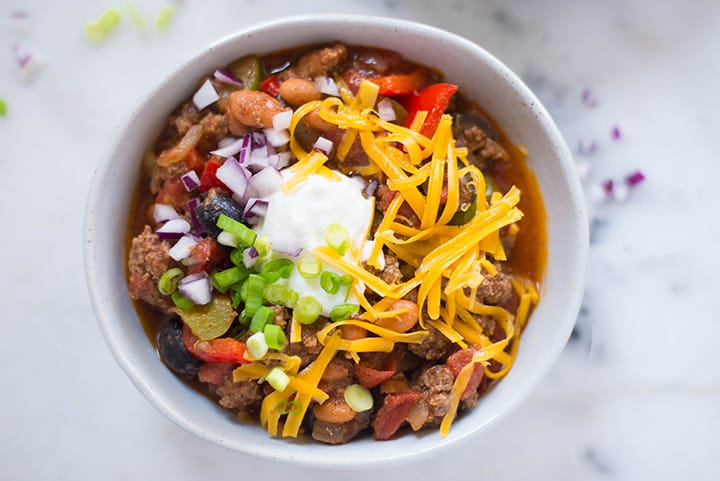
This great weeknight dinner is spicy, hearty, low-calorie, healthy, and nutritious. Get the recipe.
FROZEN BREAKFAST BURRITOS (HEALTHY MAKE AHEAD BREAKFAST!)
If you want a healthy breakfast option, then these Frozen Breakfast Burritos (Healthy Make Ahead Breakfast!) are just perfect!

They are healthy and perfect for meal prep. No more stressful mornings! Yay. Get the recipe.
HEALTHY CHICKEN FAJITAS MEAL PREP | MEAL PREP ON A BUDGET (JUST $3.37)
Love to meal prep? Then aside from the stuffed peppers and the breakfast burritos, you can make this Healthy Chicken Fajitas Meal Prep.
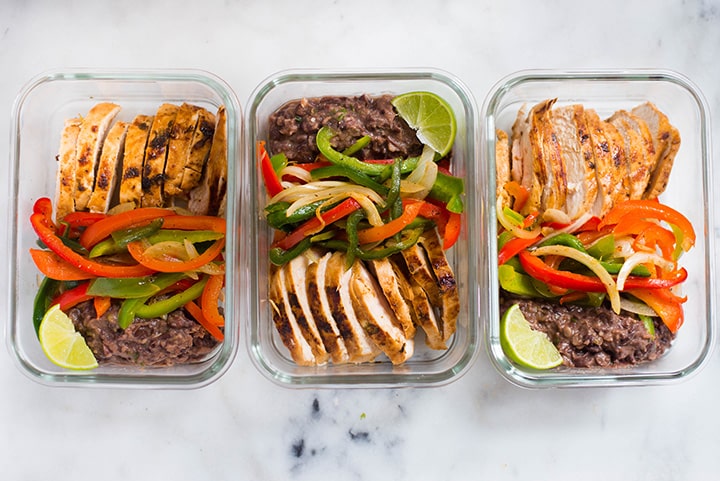
It’s a budget-friendly, healthy, and totes delicious dinner option. Get the recipe.
Stuffed Peppers

These easy Classic Stuffed Peppers are a hearty but healthy comfort food from my childhood that is family approved and can be made ahead for an easy weeknight meal. Perfect for left-overs, too!
- 1 tbsp olive oil
- 1 1/2 lbs lean ground beef ((can also use ground turkey))
- 1 yellow onion (diced)
- 2 cloves garlic (minced)
- 1 tsp sea salt
- 1/2 tsp ground black pepper
- 1 tsp paprika
- 1 tsp chili powder
- 1/1 tsp dried oregano
- 1 1/2 cup brown rice (uncooked)
- 3 cups low sodium chicken broth
- 1 14 oz. can diced tomatoes
- 8 oz tomato sauce (low salt)
- 6 medium bell peppers (red or green)
- 2 tbsp parmesan cheese (grated)
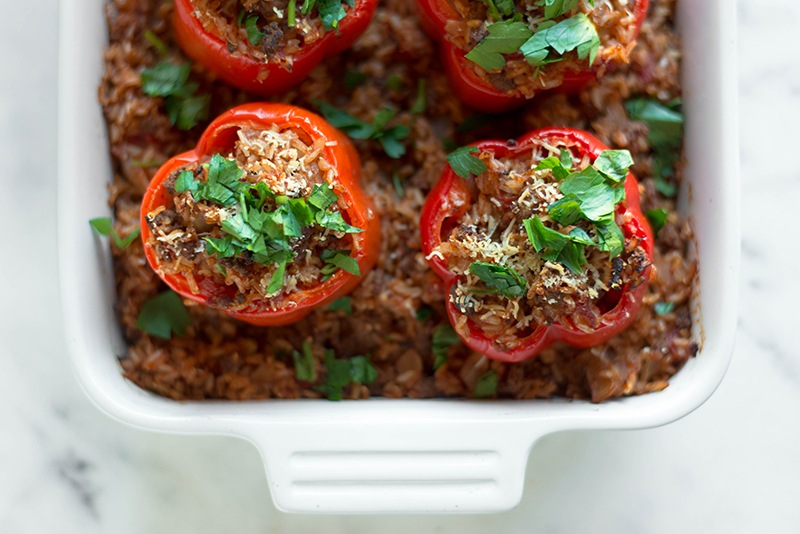
- Italian parsley for topping
- Start by preheating your oven to 350 degrees F.
- In a deep pot, heat the brown rice with low sodium chicken broth over medium-high heat. Simmer, covered, for about 20 minutes or until rice is mostly tender.
- Now, in a large, deep skillet over medium-high heat, add olive oil and allow to heat up.
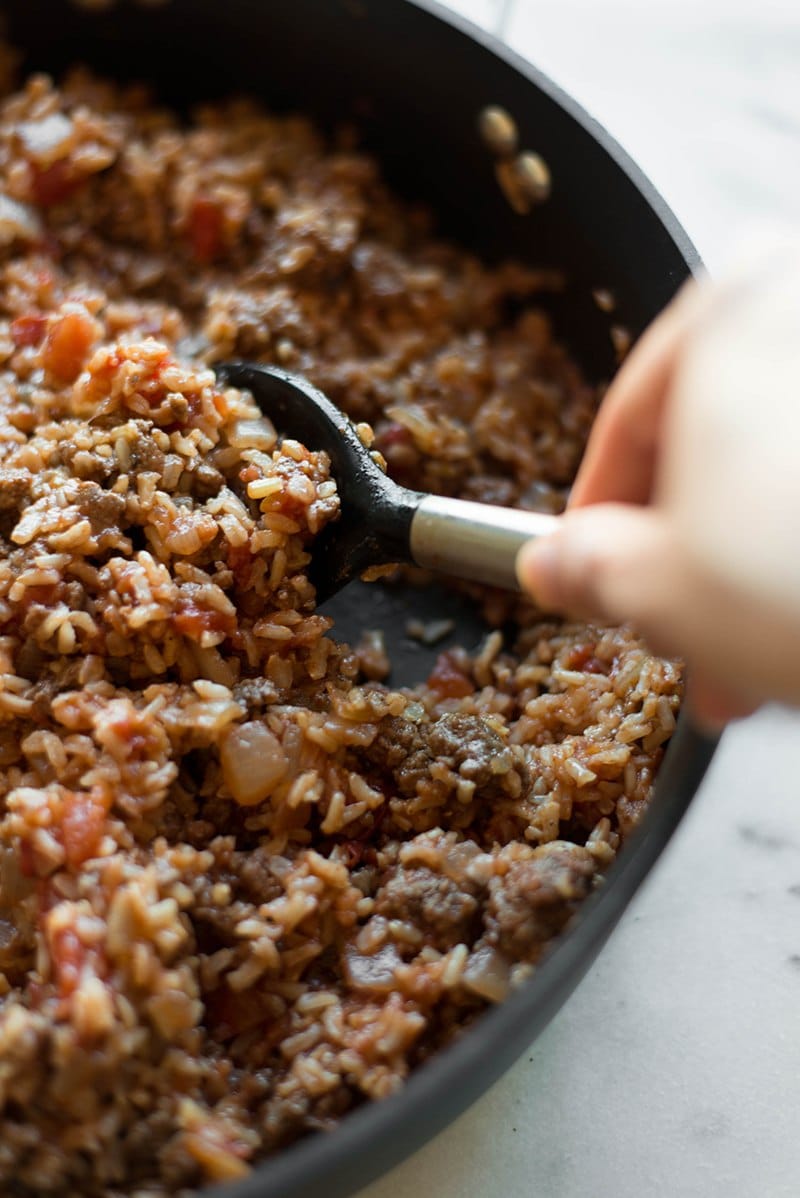
- Add the lean ground beef, diced yellow onion, minced garlic, sea salt, black pepper, chili powder, dried oregano, and paprika and stir to combine. Cook until the meat is well-browned and the onions are tender, about 6-8 minutes.
- Next, add the diced tomatoes, tomato sauce, and cooked brown rice (should be approximately 3 cups) and stir to combine.
- To prep the bell peppers, carefully slice off the tops of each bell pepper, leaving as much of the pepper as possible. Then, clean out each pepper and wash thoroughly.
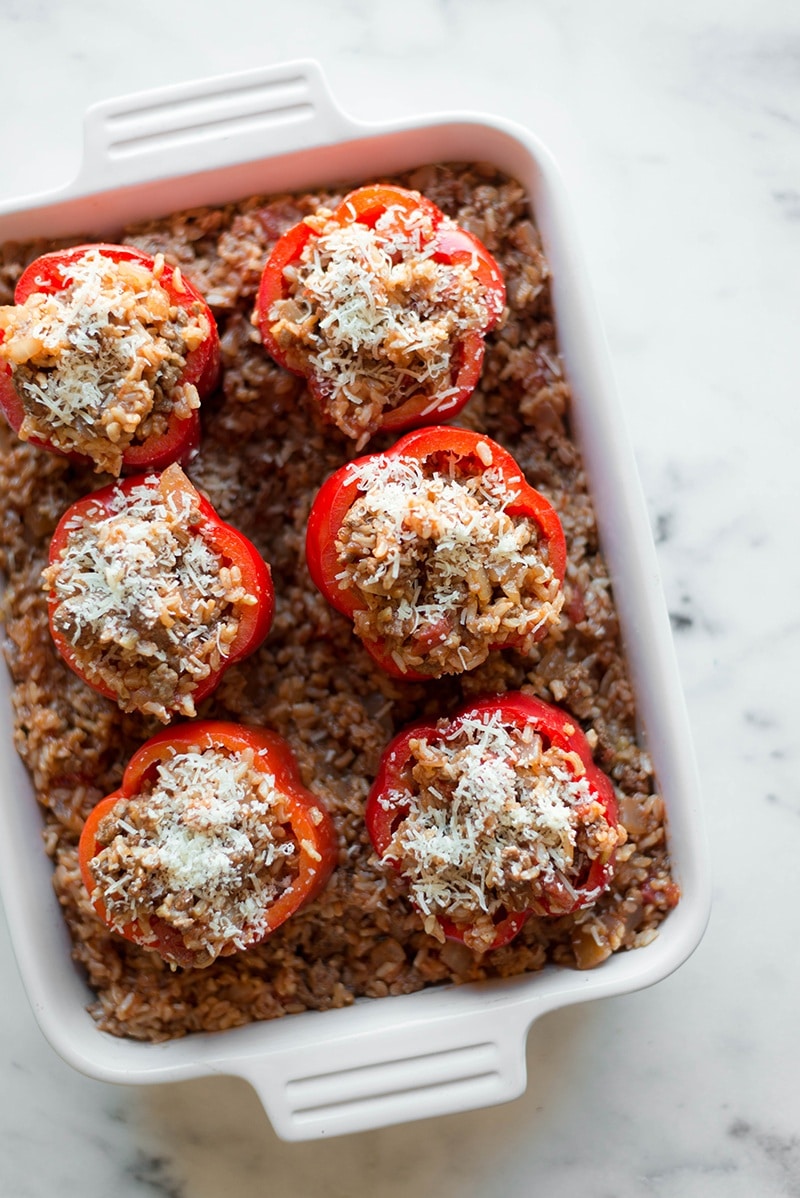
- Place each pepper in an oven-safe baking dish, cut side up. (NOTE: If you find the pepper wont stand up on its own, it may be necessary to slice off some of the bottom of the pepper to make it level.)
- Gently spoon mixture into hollowed-out peppers and top with shredded parmesan cheese.
- If there is extra stuffing, you can spread it around the peppers in the baking dish.
- Place in the oven and bake for 45 minutes, or until the peppers are tender.
Can be frozen for up to three months. When ready to eat, place in the oven, frozen, and bake at 350 degrees F until they are thawed and heated through, about 45 minutes to one hour.
This post contains affiliate links to products I use regularly and highly recommend.
The post Classic Stuffed Peppers | A Favorite Recipe From My Childhood appeared first on A Sweet Pea Chef.
 * This article was originally published here