With buttery, crumbly, crispy, cookie-like texture, this is my favorite Sweet Tart Crust (Pastry Crust) recipe. It goes well with any sweet filling of your choice.
I love pies and tarts more than cakes. Since I was young, I always like the food with crispy and crusty texture more than the one with soft or mushy texture. Tarts especially are my favorite kind of desserts and I would go for any filling or toppings, as long as the crust is perfectly baked.
Being picky about the tart crusts naturally made me into baking them myself. The store-bought ones either use low-quality ingredients or not buttery enough. When you make your own tart crust, you get to pick the best flour, good-quality butter, the best egg…right, the best of everything for the crust love!
Ingredients for Sweet Tart Crust
All-Purpose Flour
I had been making tart crusts with cake flour (薄力粉) because that’s what we use in Japan. However, due to the popularity of all-purpose flour (中力粉) here in the U.S., I have switched to all-purpose flour for the tart crust. I feel the tart crusts made with cake flour tend to be more crispy and finer texture, but I think the difference is not so easy to tell, and I do like tart crusts made with all-purpose flour.
Confectioners’ Sugar
Confectioners’ sugar, also called powdered sugar or icing sugar, is granulated sugar that has been ground into a finely milled powder and has about 3% cornstarch added.
This type of sugar makes the sweet tart crust light and slightly crispier than pie dough, kind of like shortbread cookies. The fine confectioners’ sugar yields a more tender crust due to the cornstarch while granulated sugar makes it more crumbly.
I really like how the tart turns out with this recipe, but if you still want to use granulated sugar, you can use half the amount of confectioners’ sugar. For example, for 1 cup confectioners’ sugar, you can substitute with 1/2 cup granulated sugar.
Whole Egg
A lot of recipes call for adding egg yolk and very cold water to the dry ingredients, but after I’ve tested adding one cold whole egg, I think it works perfectly and I like that I don’t have to worry about the egg white.
What is Blind Baking?
Blind baking is a fancy term for prebaking a pie/tart crust before adding the filling to it. Because the sweet tart dough puffs up during baking, you need to weigh down the bottom of the pie/tart with pie weights, dried rice, beans, or pennies until it no longer puffs up. Then you would remove the pie weights to continue baking a little longer.
Depending on the pie/tart recipes, they call for “unbaked crust”, a”partially baked crust”, or a “fully baked crust”. You can decide when to end the process of the recipe.
- The unbaked crust requires no baking required in this recipe. As soon as the tart crust is chilled, it’s ready to move onto your recipe.
- The partially baked crust requires shorter baking time than fully baked crust because the crust will be fully baked after adding the filling in the partially baked crust.
- The fully baked crust requires full baking time because it is usually filled with the filling which does not require additional baking, such as a fruit tart with custard filling.
Blind baking prevents the tart crust from becoming soggy. Since I like my tart crust to be crispy, I almost always partially bake the crust if the filling has some moisture in it.
Kitchen Tools You Need for Making a Sweet Tart Crust
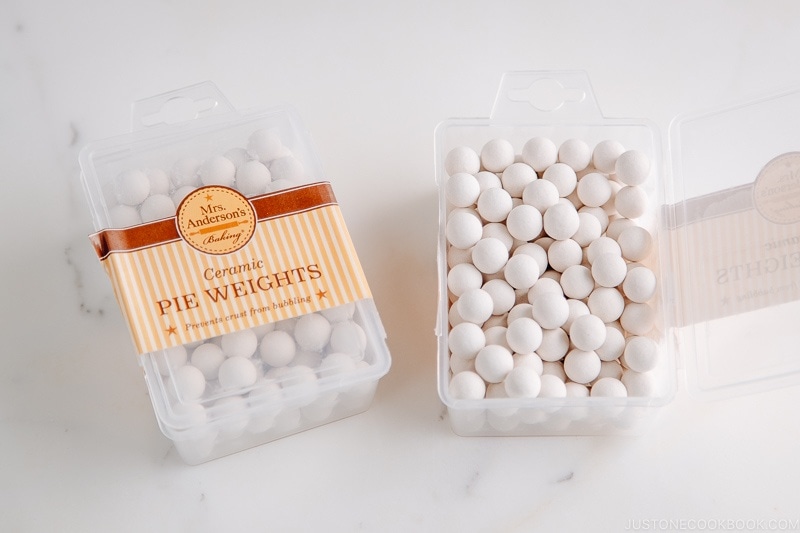
1. Pie Weights
Pie weights are used to keep a pie/tart crust from bubbling and shrinking away from the edge of the pie plate or tart pan when you’re blind baking a crust.
I use these pie weights (you will need 2 boxes for 9-inch tart pan) but you can use dried rice, beans, or pennies to keep the tart dough down.

2. Pastry Cutter
Many tart dough recipes use a food processor to make the tart dough, but don’t worry. All you need to make a perfect tart dough is this $12 pastry cutter. You can use a few forks to do the job, but your fingers will be very tired pressing down the tough dough.
3. Anodized Aluminum Tart Pan
I recommend this $9 9.5-inch anodized aluminum tart pan. I also have a non-stick tart pan, but from my personal experience, the tart crust shrinkage is much bigger and it always creates a bigger gap from the crust and tart pan after baking fully. It’s probably because there’s nothing for the dough to “grip.”
How to Prevent Tart Crust from Shrinking
Here are a few tips to prevent your pastry from shrinking when it’s baked:
1. Don’t overwork your dough
Over-kneading the dough will develop too much gluten. Gluten produces elasticity in the dough and once the overworked dough is subjected to heat, it recoils quickly, pulling away from the sides of the pan and shrinking.
2. Let your pastry dough rest
The reason is to counter gluten development. After being worked, the dough needs to rest fully to relax any elasticity that has been developed. Let your dough rest for 30-60 minutes minimum, but the longer you can let it rest, the better it is.
3. Let your tart crust chill in the fridge/freezer
Why do we chill or freeze the tart crust before baking? The butter in pastry dough should be very cold or frozen. That way, when you put the tart crust in the hot oven, it won’t melt fast and gives stability to the tart shape while a crust is being formed.
With these few tips in hand, you’d be ready to bake up the perfect tart crust for your holiday pies and tarts. Buttery and flaky, crumbly and delicate, just as good as a tart crust should be.
Don’t want to miss a recipe? Sign up for the FREE Just One Cookbook newsletter delivered to your inbox! And stay in touch on Facebook, Pinterest, and Instagram for all the latest updates.
Sweet Tart Crust

With buttery, crumbly, crispy, cookie-like texture, this is my favorite Sweet Tart Crust (Pastry Crust) recipe. It goes well with any sweet filling of your choice.
- 1 ¼ cup all-purpose flour ((170 g))
- ½ cup confectioner’s sugar ((60 g))
- ¼ tsp kosher salt
- ½ cup unsalted butter ((1 stick, 113 g) (cold))
- 1 large egg ((55 g) (cold))
- ½ tsp vanilla extract
Make the Dough
- Gather all the ingredients. If possible, keep all ingredients chilled in the refrigerator until ready to start.
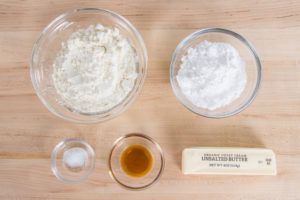
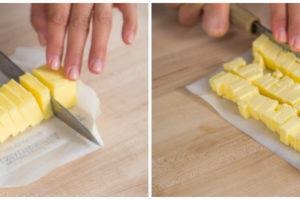
- Cut the butter into small cubes. Crack the egg into a small bowl.
Choice #1 – Pastry Cutter:
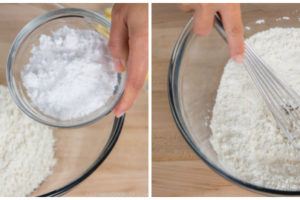
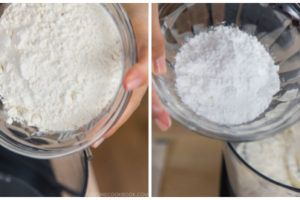
- In a large bowl, stir together the flour, sugar, and salt.
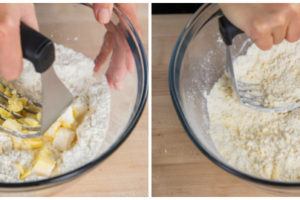
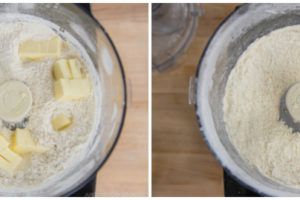
- Add the butter to the flour mixture. Using a pastry cutter or 2 knives, cut the butter into flour mixture until the texture resembles coarse cornmeal, with butter pieces no larger than small peas.
-
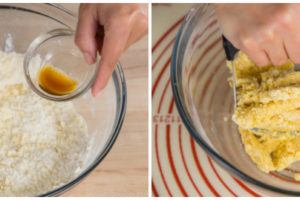
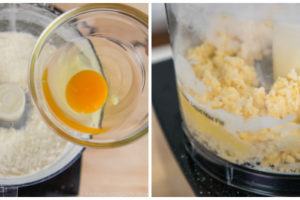
Add the egg and vanilla extract and mix with a fork just until the dough pulls together.
Choice #2 – Food Processor:
- Process all-purpose flour, sugar, and salt in a food processor for a few seconds until combined.
- Add the butter and pulse until mixture resembles coarse meal, about 15 pulses.
-
Add the egg and vanilla extract and pulse until the dough forms clumps, about 15 seconds.
Form Dough into a Disk
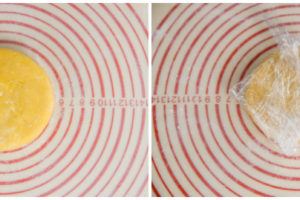
- Transfer the dough clumps to a lightly floured surface and form into a ball. If sticky, lightly sprinkle flour.
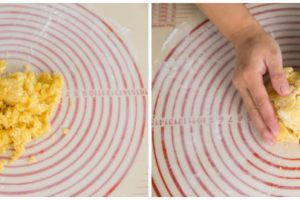
- Flatten the ball with your hands to form a thick disk. Wrap with plastic wrap and refrigerate for at least 1 hour (or 30 mins in the freezer). The dough must be completely chilled before being used. If you don’t use the dough right away, you can store in the refrigerator for up to 3 days, or freeze it for up to 2 months (then thaw overnight in the refrigerator).
Roll Out the Dough
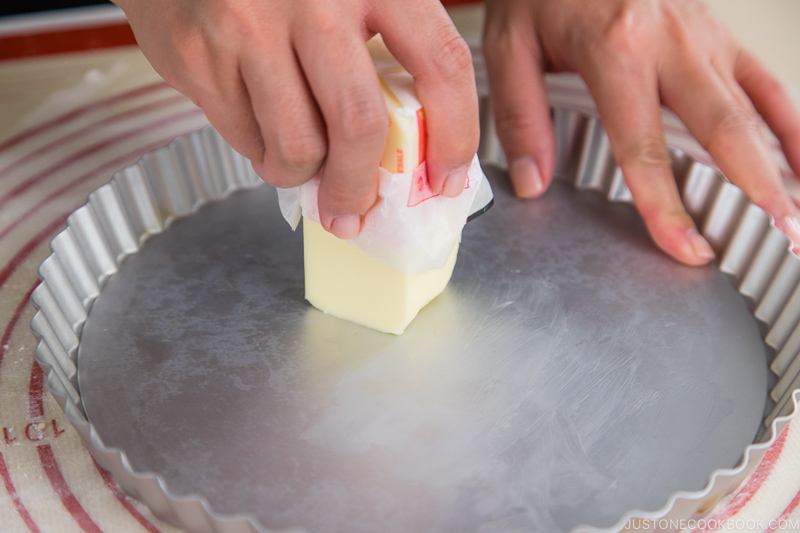
-
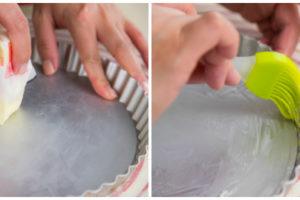
Take the dough out from the refrigerator and let it sit on the counter for a few minutes to soften slightly for easy rolling. Meanwhile lightly butter a 9-inch (23 cm) fluted tart pan with a removable bottom.
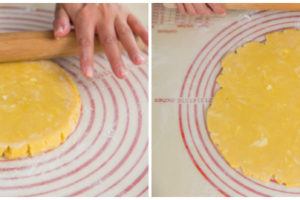
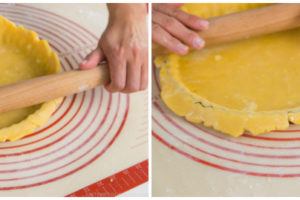
- Lightly flour your working surface and place the dough on top. Using a rolling pin, roll out the dough into an 11-inch circle, with 1/8-inch (3 mm) thick. If the dough is too soft, put back into the refrigerator.
- Flour the rolling pin and roll the dough loosely around it, then unroll it into the tart pan.
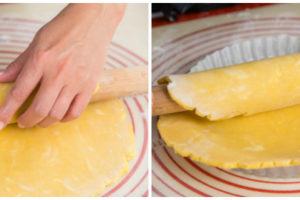
- Evenly pat the dough onto the bottom and sides of the greased tart pan. Seal any cracks in the dough.
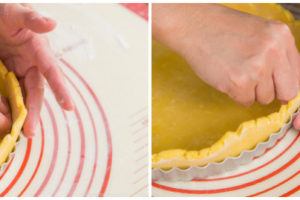
-
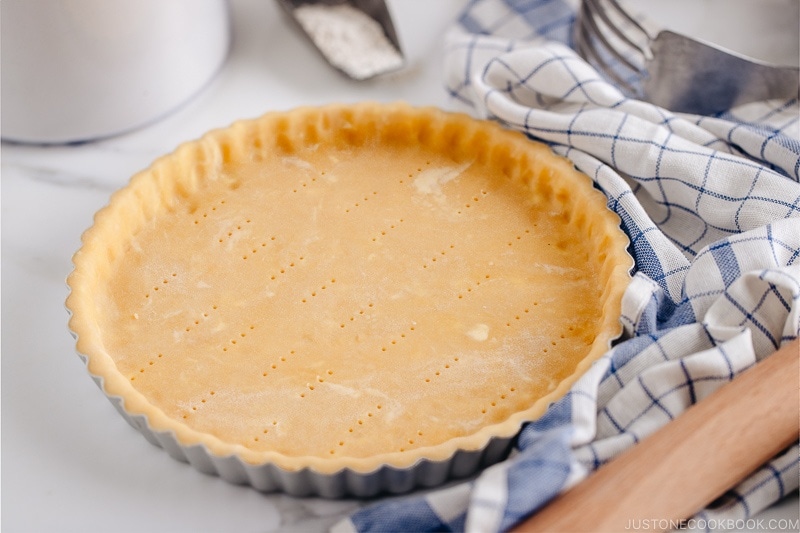
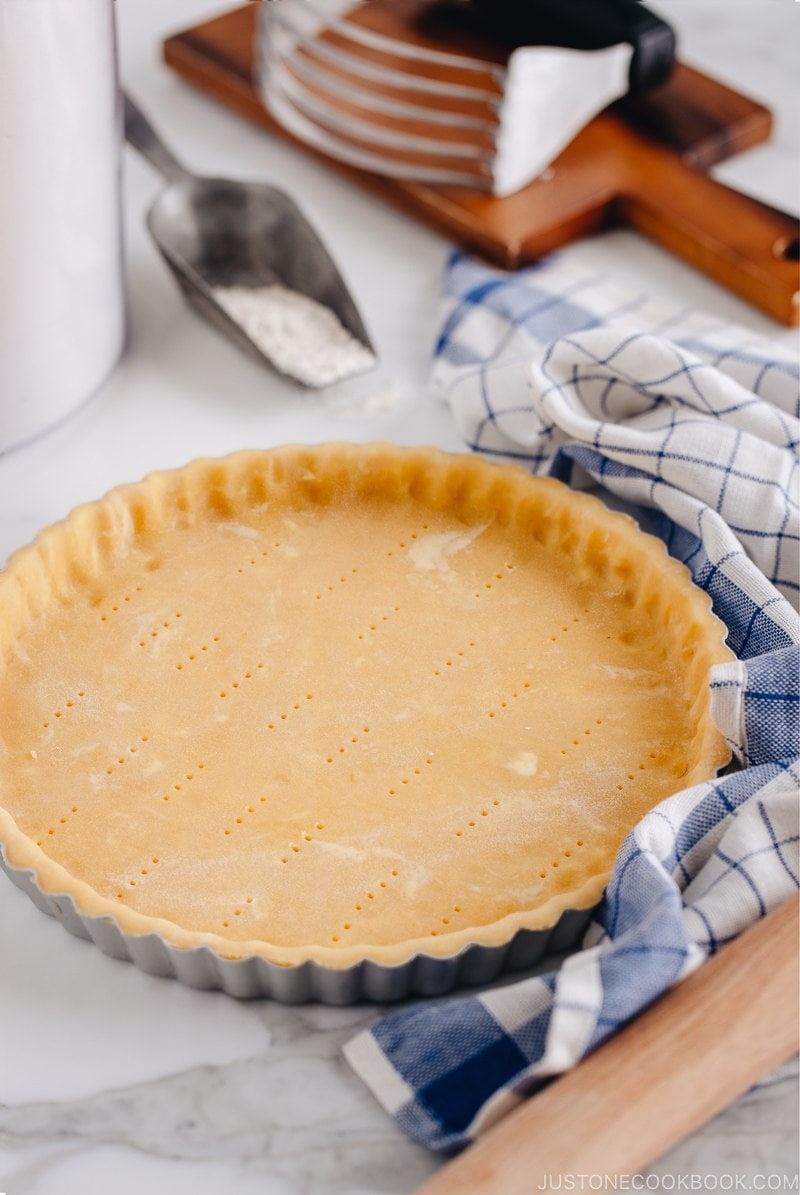
Trim off excess dough with a sharp knife, or with the rolling pin by rolling over the tart pan. A good tip I learned from a Japanese cookbook (optional): Using your index finger, gently press the dough onto the side so the dough will peak out 2 mm from the pan. The dough tends to shrink while baking, so this helps to keep the height of the crust.
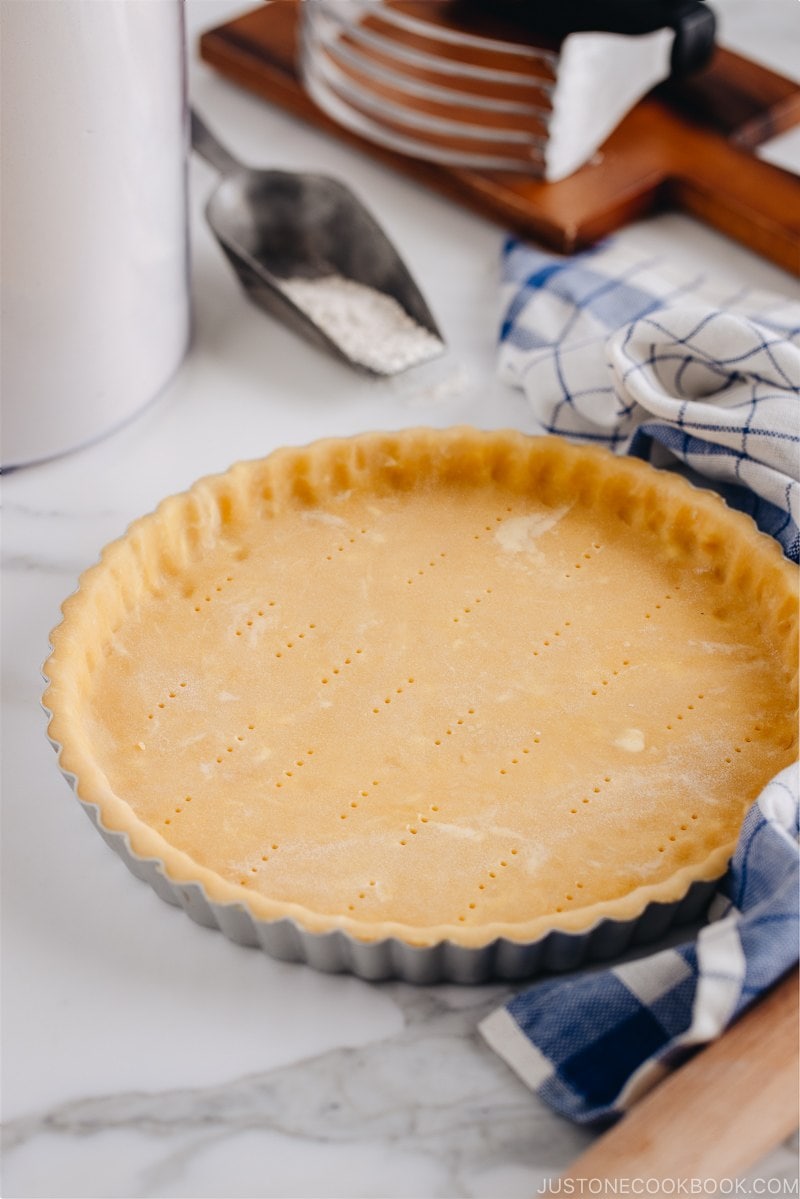
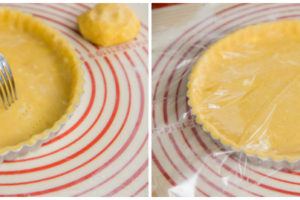
- With a fork, gently prick the dough several times. Cover the tart pan with plastic wrap and place in the freezer until firm, about 30 minutes. Freezing the dough before baking prevents it from shrinking.
Blind Bake the Crust
- To prevent the crust from becoming soggy, I always like to blind bake the crust. Preheat the oven to 375F (190C) and place the rack in the center.
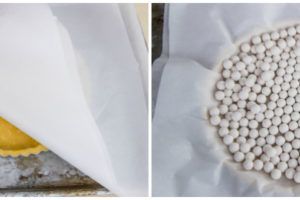
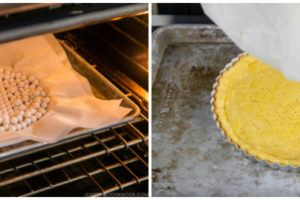
- When the oven is ready, tightly line the chilled crust with 2 layers of parchment paper, covering the edges to prevent them from burning. Fill the crust with pie weights (or dried beans, uncooked rice, pennies, etc). Make sure they are evenly distributed over the entire surface.
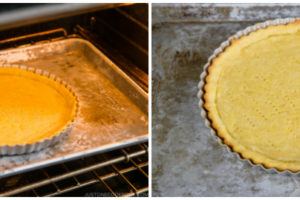
- Bake the crust for 20 minutes, until the foil no longer sticks to the dough. Transfer the crust to a wire rack and remove the pie weights and parchment paper.
- To partially bake the crust, continue to bake the crust for 5 minutes longer. Proceed with your tart recipe: add the filling and finish baking. According to your recipe, the crust should be used while warm or after it’s been left to cool on a wire rack.
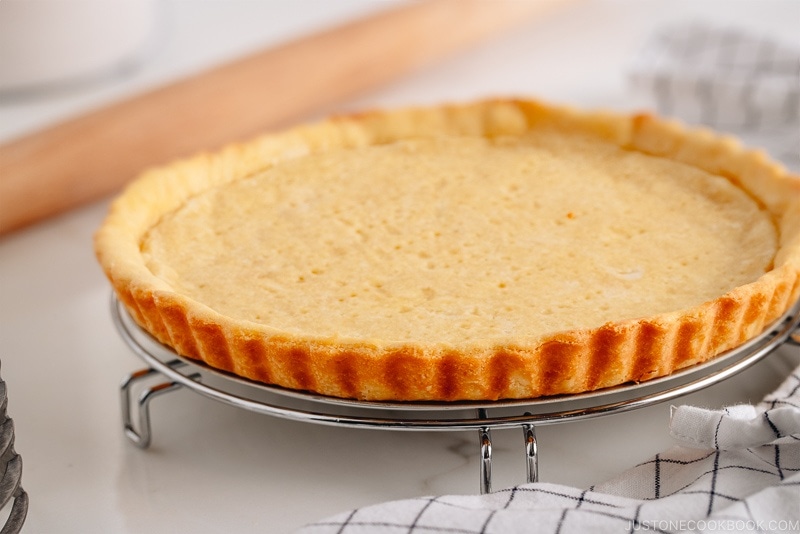
-
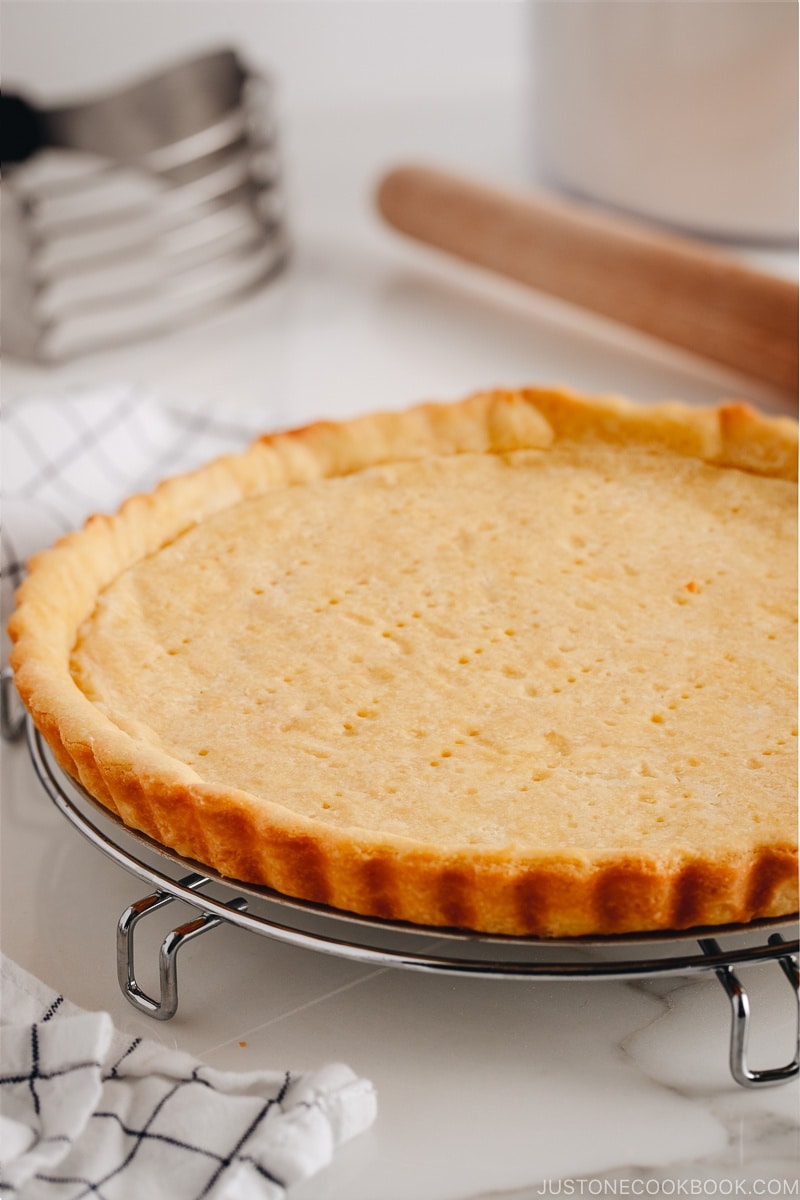
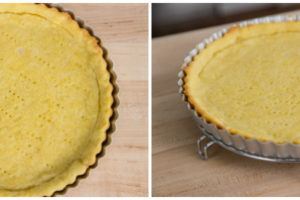
To fully bake the crust, bake for 10 minutes longer or until it is dry and the bottom turns lightly golden. Remove the crust from the oven and place on a wire rack to cool.
Storage
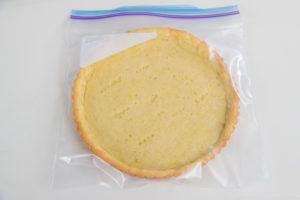
-
The baked crust can be stored at room temperature for 3 days or frozen for 2 months.
Recipe by Namiko Chen of Just One Cookbook. All images and content on this site are copyright protected. Please do not use my images without my permission. If you’d like to share this recipe on your site, please re-write the recipe in your own words and link to this post as the original source. Thank you.